Everybody has been asking about the gear used in this film so I wanted to compile a list of gear for you. If you haven’t watched the film yet, check it out here:
We’ve all been there as filmmakers, “if I had this piece of gear, then I could make something awesome.” I call it gear lust. Gear is great, but it’s not going to save a bad story. What’s even worse (and I’m guilty of this too) is getting gear just to have it. Renting a RED because it’s a RED… it’s dumb, but it’s real.
If you have a strong ‘why’ behind a piece of gear, it’s going to have a lot more impact on your production. That’s your job as a director, figure out the motivation and intention behind everything: the blocking, the casting, the camera movement, and the gear too.
For myself, the motivation was often a mix of artistic and budget reasons (paying for you own project makes this a REAL factor).
Let’s dive in
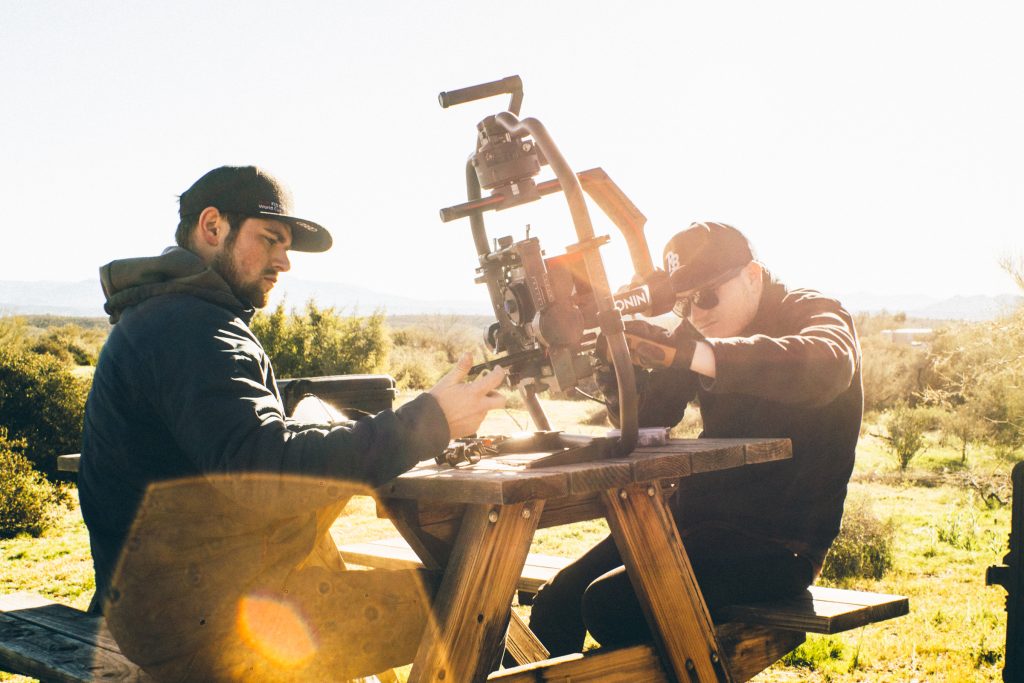
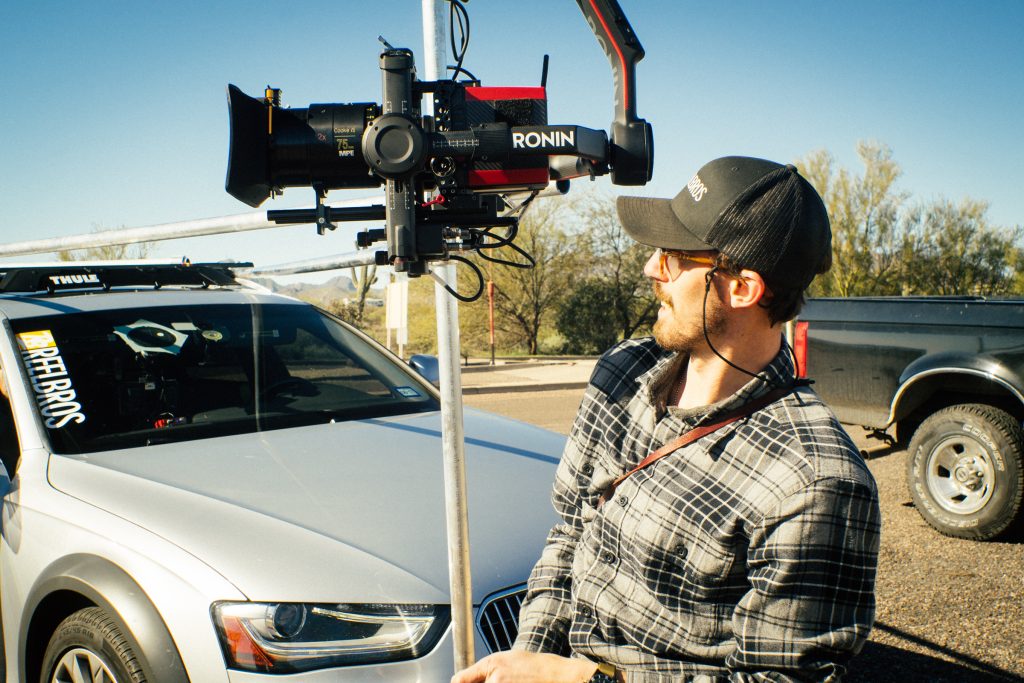
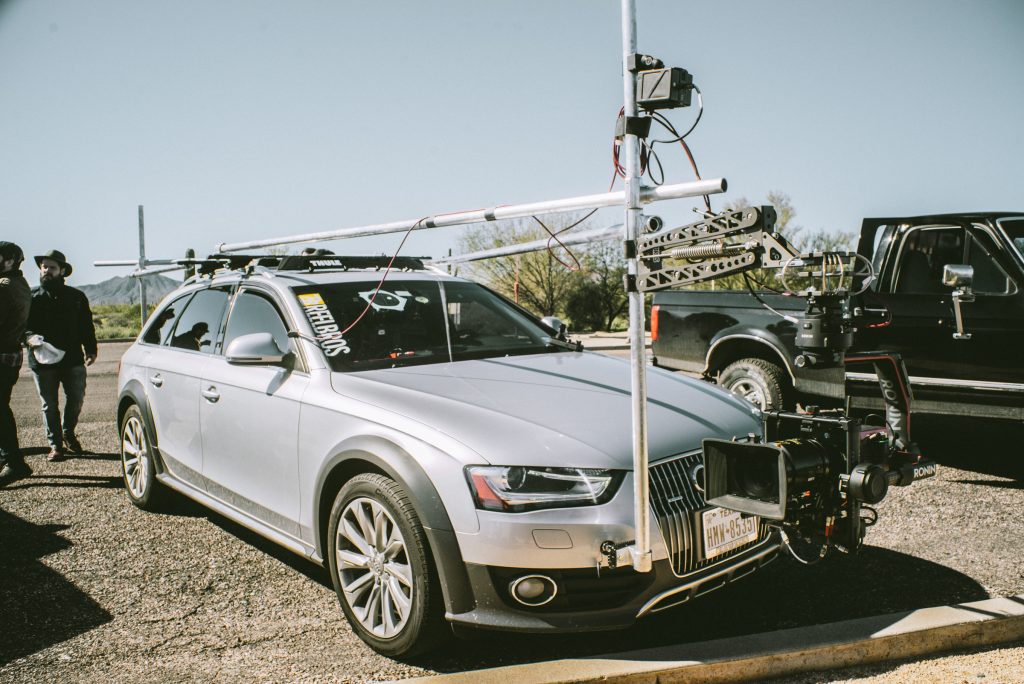
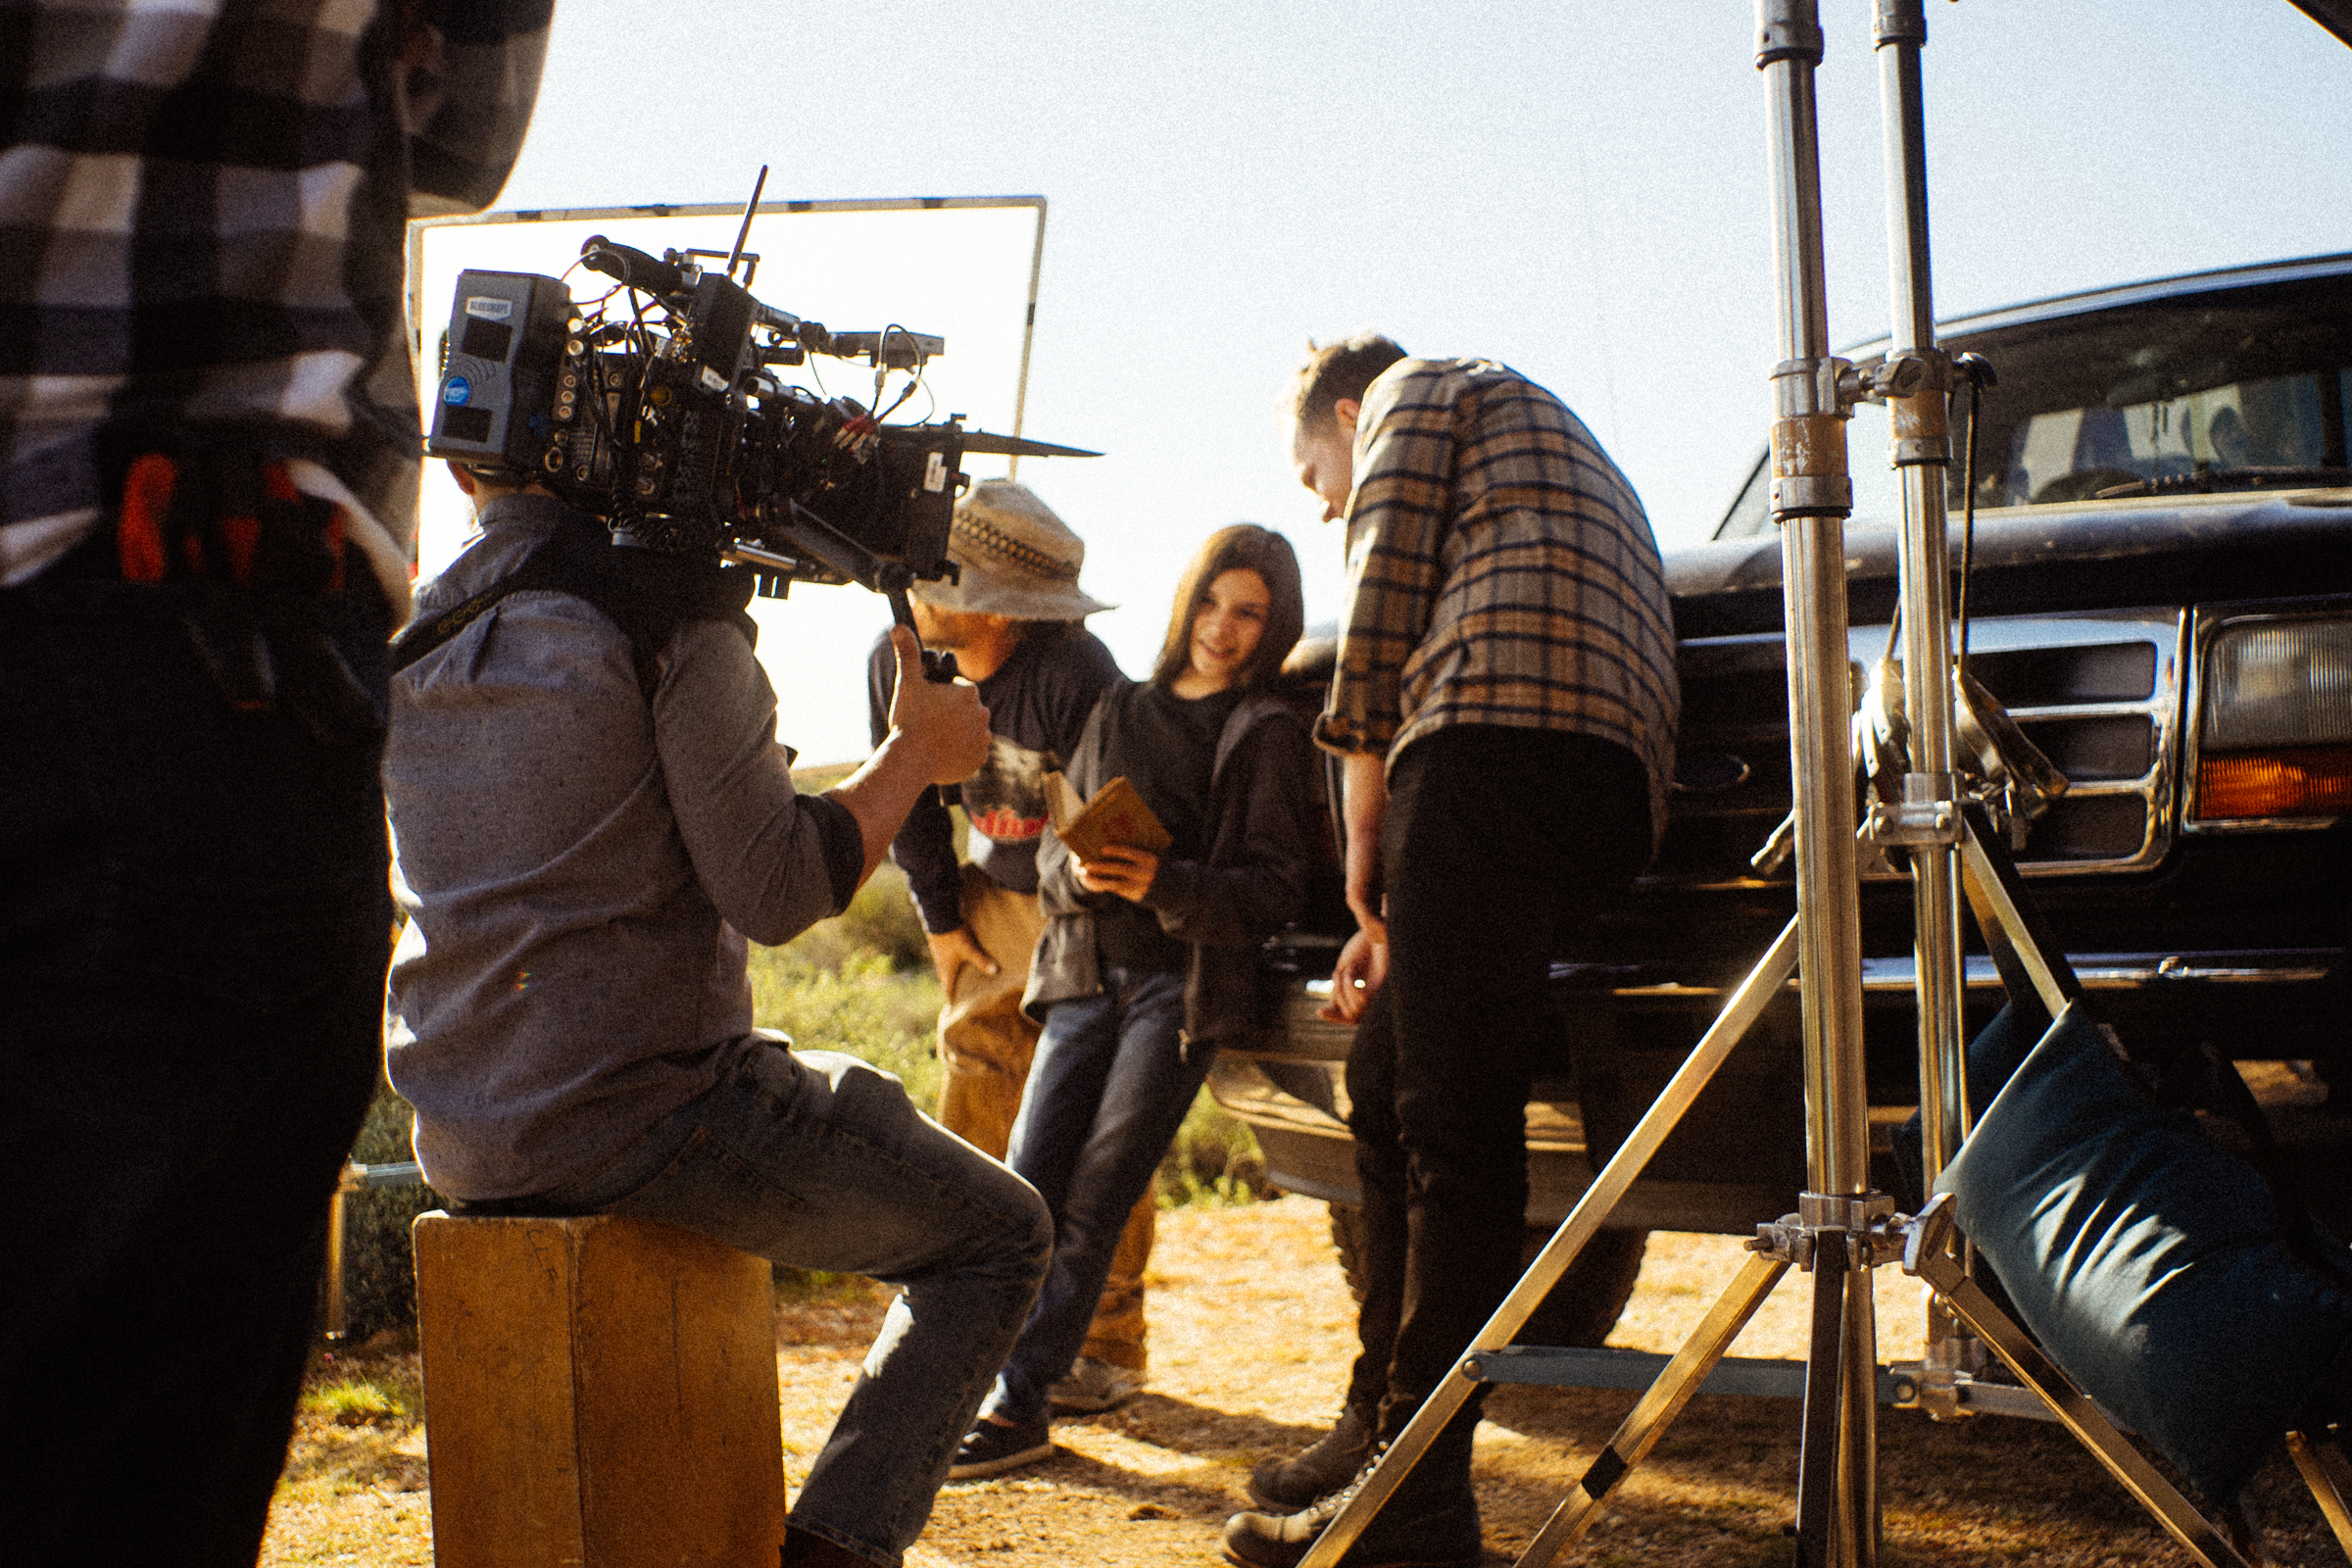
Note: Thanks to Chris Weatherly and ReelBros for capturing these BTS photos!
The Camera Gear
Alexa Mini
The why? Short answer, it was free.
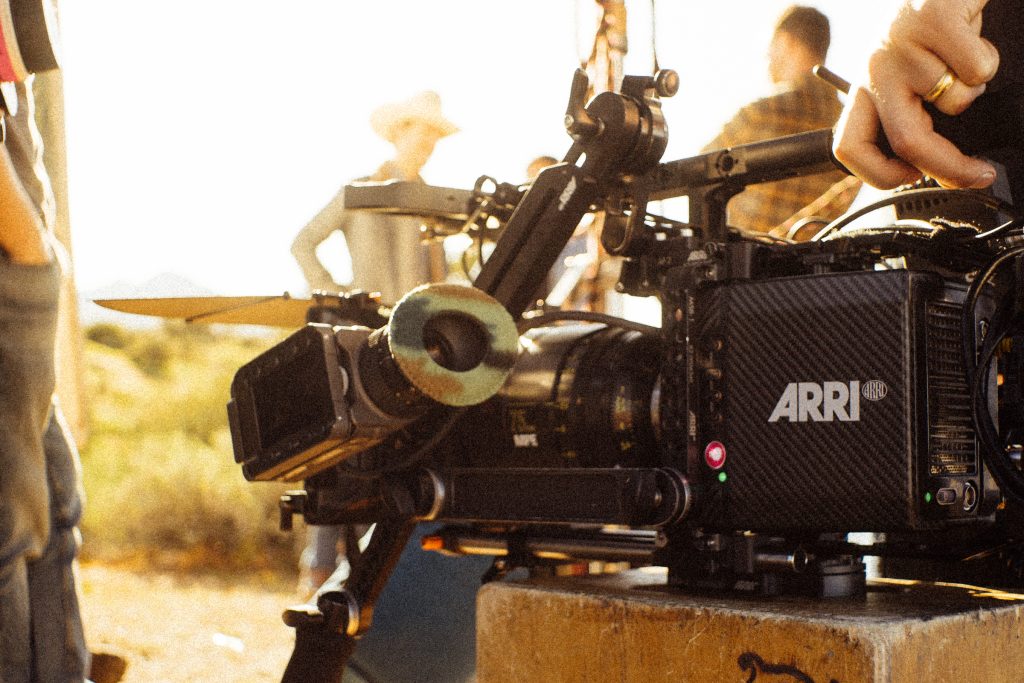
It’s an amazing camera with a gorgeous image. I definitely lucked out though, one of my EP’s owns a mini and offered it up for the production. This was INCREDIBLY gracious of him, he didn’t have to do that. But he believed in the production and it was a no brainer budget wise.
Cooke Anamorphic Lenses
I personally love the ‘natural’ element that anamorphic lenses hit. I didn’t want this film to feel ‘polished’ or ‘commercial.’ I wanted it to feel gritty but beautiful. My DP had worked with Cookes (which brought comfort), and I also wanted to drive home that wide ‘western’ cinemascope feel.
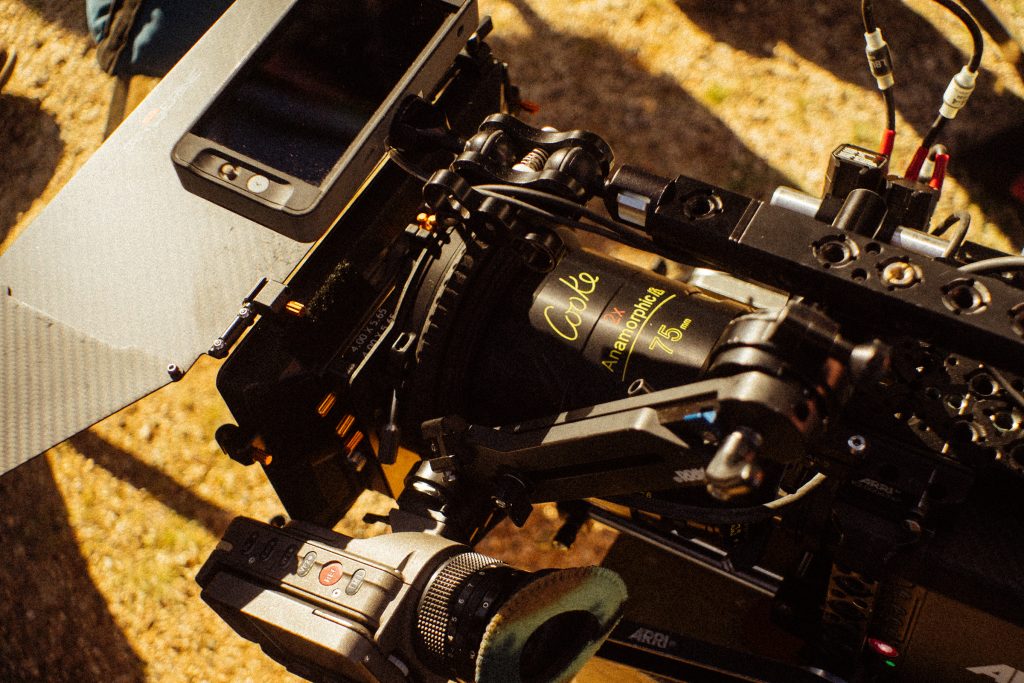
We snagged three Cookes: the 40mm, 75mm, and 100mm. These were pricey, but totally worth it in my opinion.
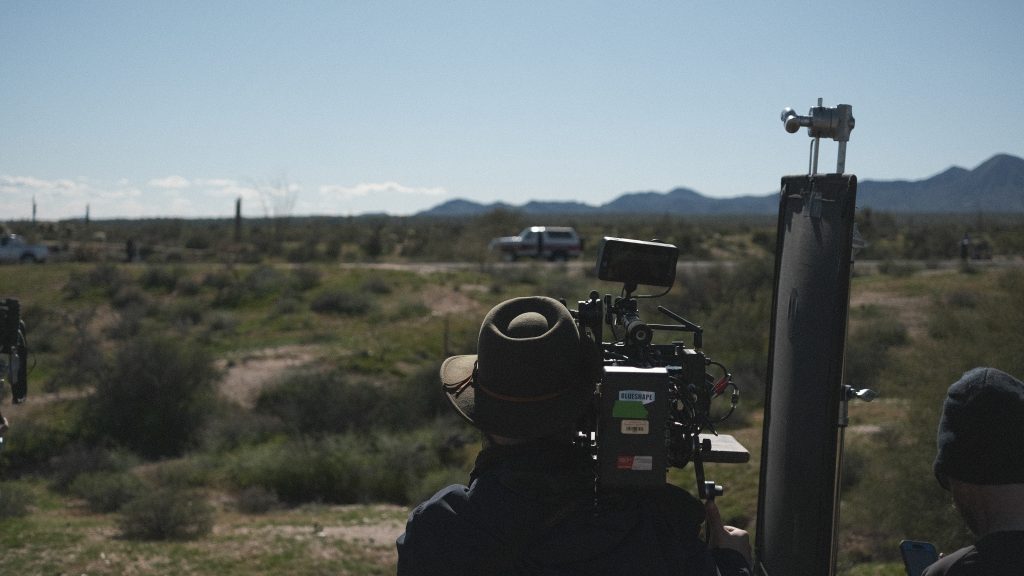
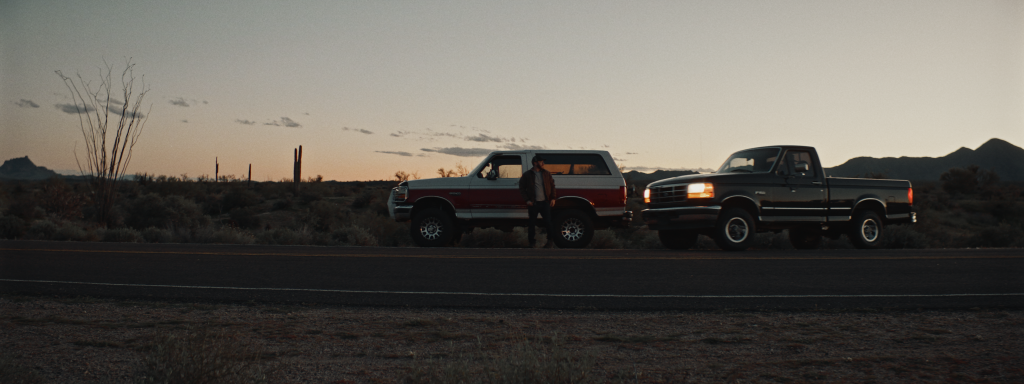
We decided to shoot a lot of the earlier stuff and wide stuff on our 100mm and 75mm to enclose the world of Mark. Then as the film progresses, slowly we switch over to the 40mm to widen the main character’s / audience perspective. It progressively and literally widens the worldview.
Lighting
The Sun
The entire film was shot using natural light. Since we were filming out in the desert, I didn’t want to bring in the extra cost of big lighting setups (extra crew, generators, rental, etc). After the decision was made with my DP, it was all about finding the right location so that the sun would work with us.
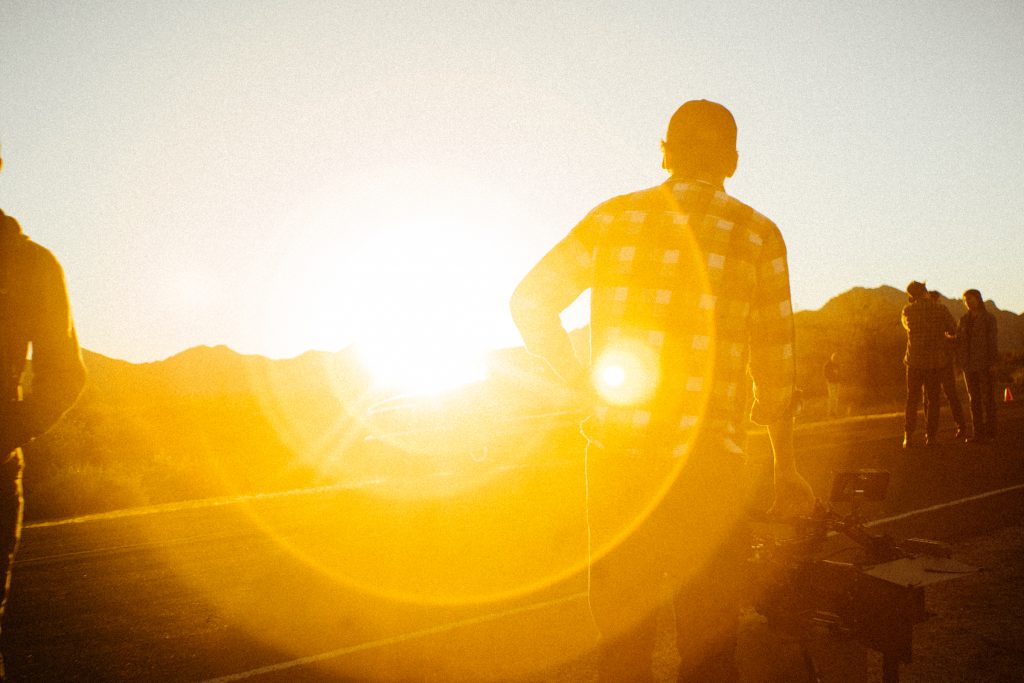
After driving all over Arizona looking for a desolate road, I finally found one that ran north and south where the sun would set in a key spot (with a gorgeous backdrop). It honestly was really difficult to find, I spent weeks on google maps until I finally found this road.
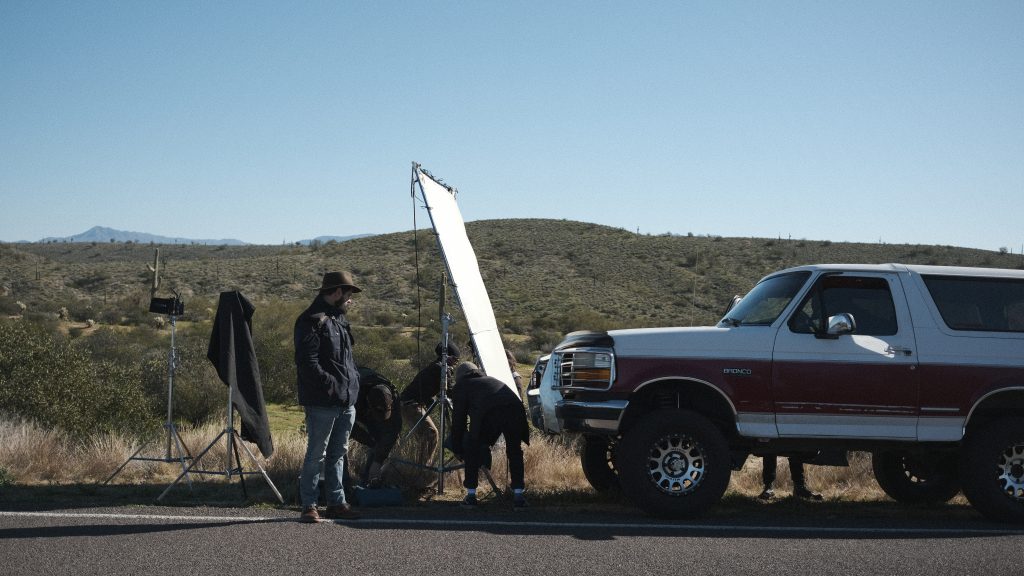
Another brilliant thing we did (JP’s idea) is filming on the other side of the road. In the morning we could just flip sides of the road and the sun would be in the correct position. So a lot of the later midday shots, we were actually reversed location wise.
Sprinter Grip Van
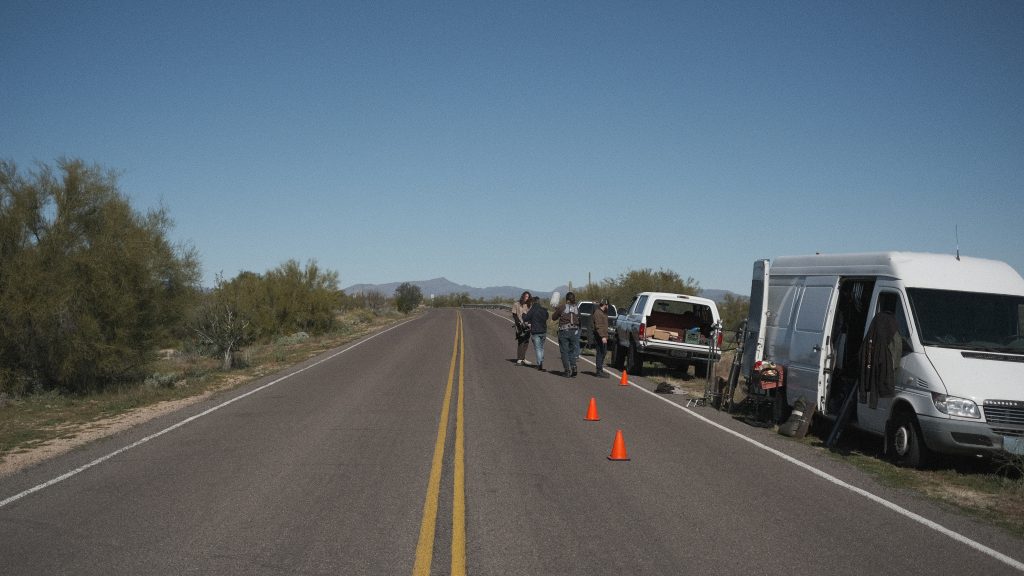
The sun is great, but it needs to be tamed. We used grip gear to shape and help match cohesive shots. Our Gaffer Jarrod from Pirate Grip G&E was amazing and fast. He brought his sprinter which worked perfect (it was small and subtle enough to park on the side of the road so cars could still pass). We kept most of our gear up in a park parking lot a few minutes away, and then would park the Sprinter to have access to the grip gear we needed.
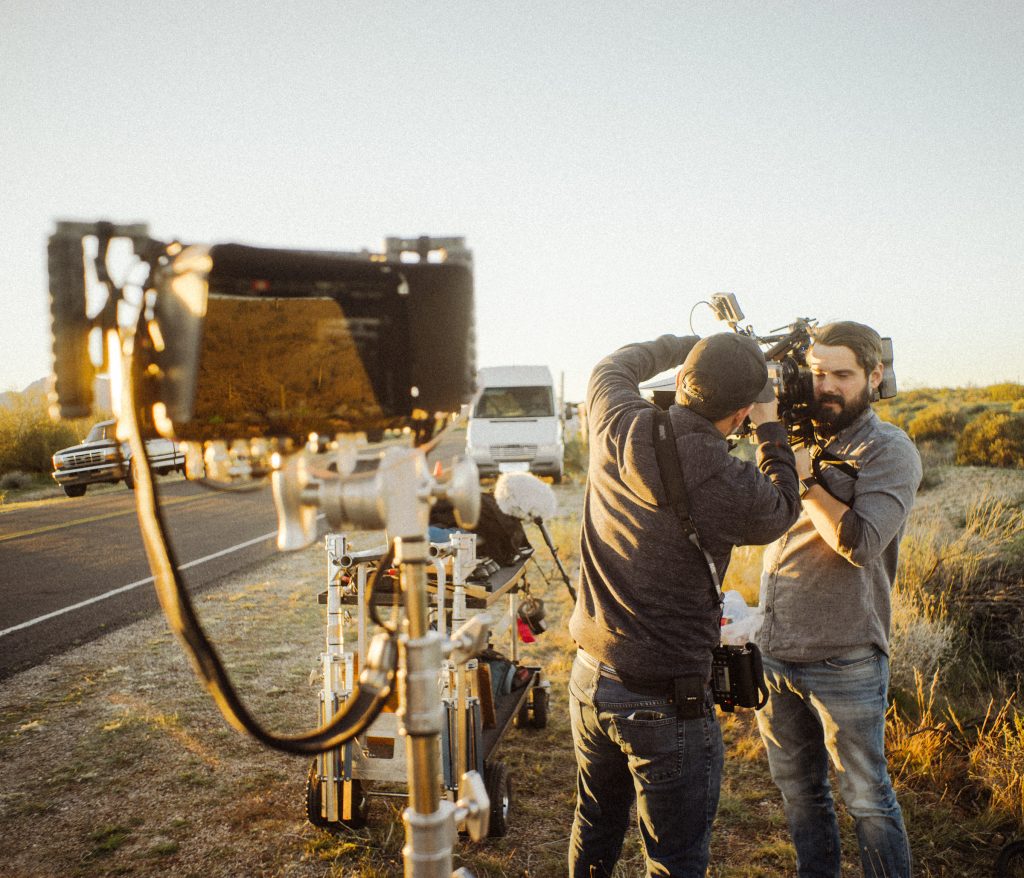
Bounce, silk, mirror board, neg
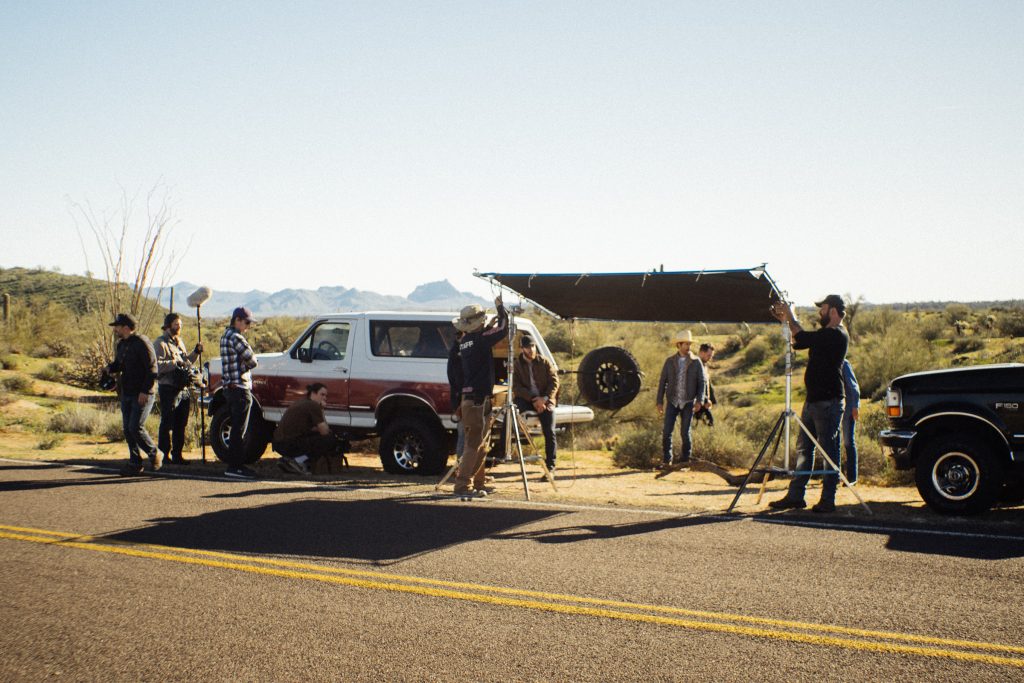
The tools we used to shape. These were the tools that let us really capture some gorgeous images. By diffusing the sun and adding in negative fill, we could soften up that harsh sun but maintain a realistic transition into sunset. After the first day, we added another grip on set so we could move faster (turns out the sun won’t stop for you). By the third day, everybody was in a rhythm though, ready for the next setup and ready to go.
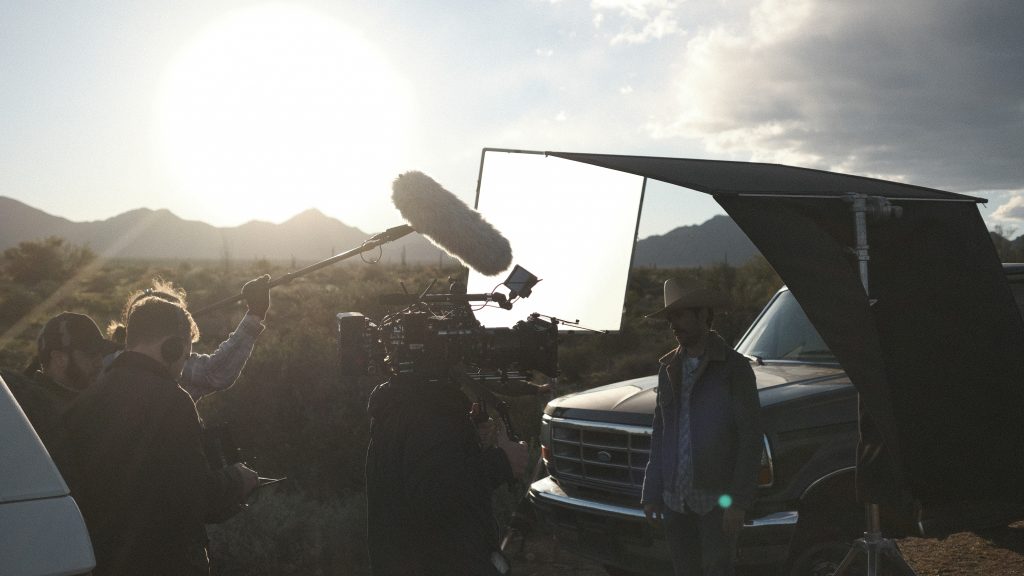
Each day at around 5:30pm, we would actually ditch the grip gear. This was that perfect 30 minutes where the sun was just about to set behind the mountain. JP wanted to use this time to capture as much as he could.
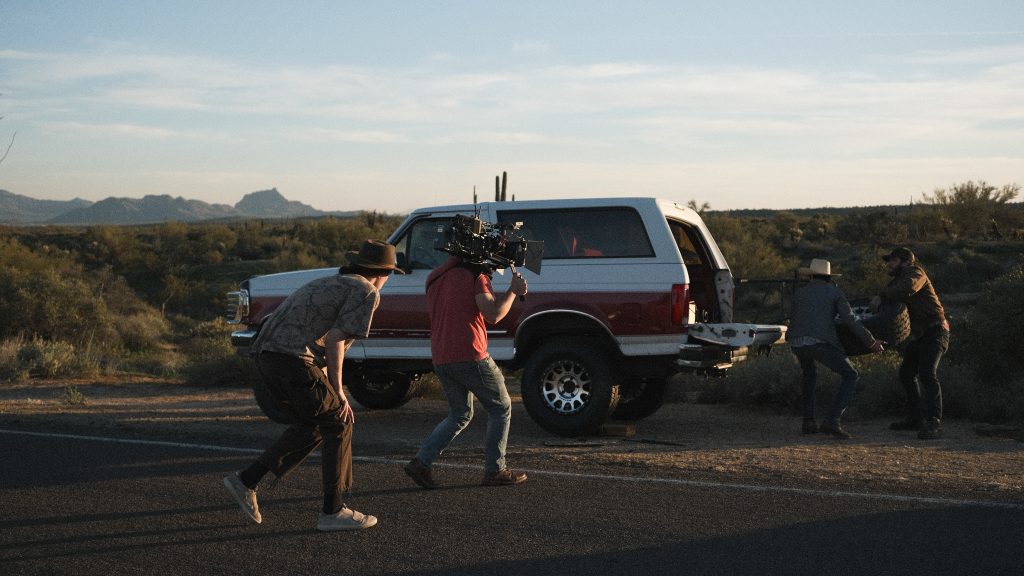
Camera Movement
Handheld / Shoulder Mount
I decided I wanted to shoot most of the film handheld. I wanted the audience to feel the emotions and bumps along the way. I wanted the camera movement to add to the grittiness of the story. It would’ve been easy for this film to become ‘cheesy’ and too ‘polished.’ I wanted to keep the natural feel with the handheld. Another element of this decision was the cost factor. By going handheld most of the time, we could move quickly, avoid extra crew, and capture everything in 3-days with the limited light.
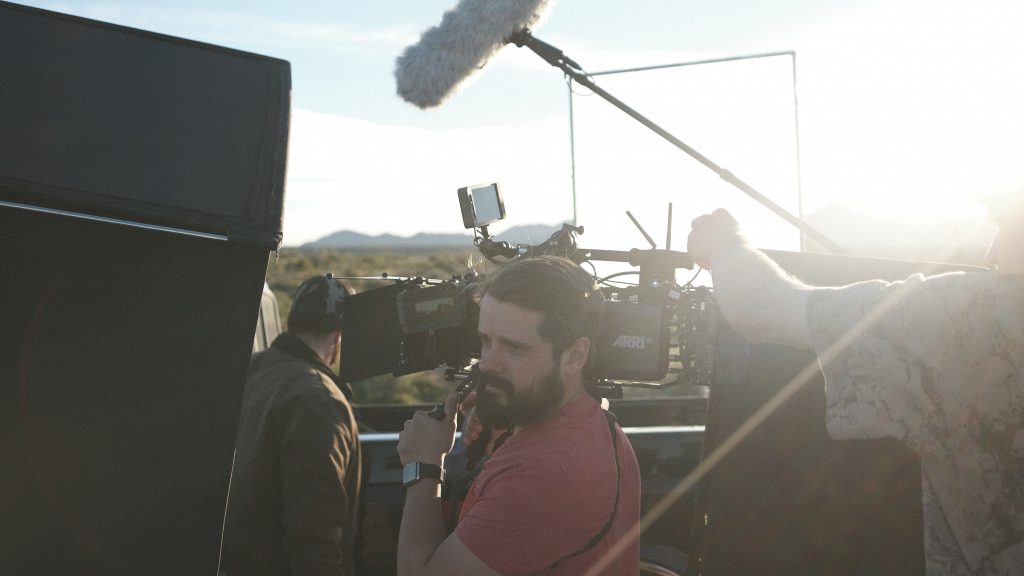
Black Arm Vehicle
The main reason we used this is because ReelBros pulled a huge favor and wanted to be apart of this passion project. They came in on day 2 and hung out all day (such cool dudes). We were so lucky to have them, and they definitely took the production to another level. If I land any car stuff (or any movement stuff) in the future, I’m definitely going to use them.
Additional Thoughts
Here’s a breakdown from JP the DP and his thoughts:
“The real challenge of this film from a cinematography perspective was nailing the arch of the story going from brutal midday desert sun and transitioning into dusk at the film comes to a close over a 3 day shoot. To do this we broke the script into pieces so that we could shoot some midday stuff each day, some late afternoon stuff each day, and some magic hour each day. And we closed with the end shot as our last shot on the last day, one of my favorite shots I’ve ever done.
JP Summers
I hope this breakdown is helpful. And I hope the why’s make sense (both the artistic and monetary reasons). I’m so grateful for everybody that helped on this project and put their time and energy into it.
If you want to stay up to date on the project, and see more BTS breakdowns (everything from pre-production to post), then put in your name and email here and I’ll share as I get time to put thoughts together.
I Want to Stay in the Loop
Do you have any other questions or things you want to know about the project (I’ll happily answer)? Send me an email at gofilmnow@gmail.com!
Leave a Reply