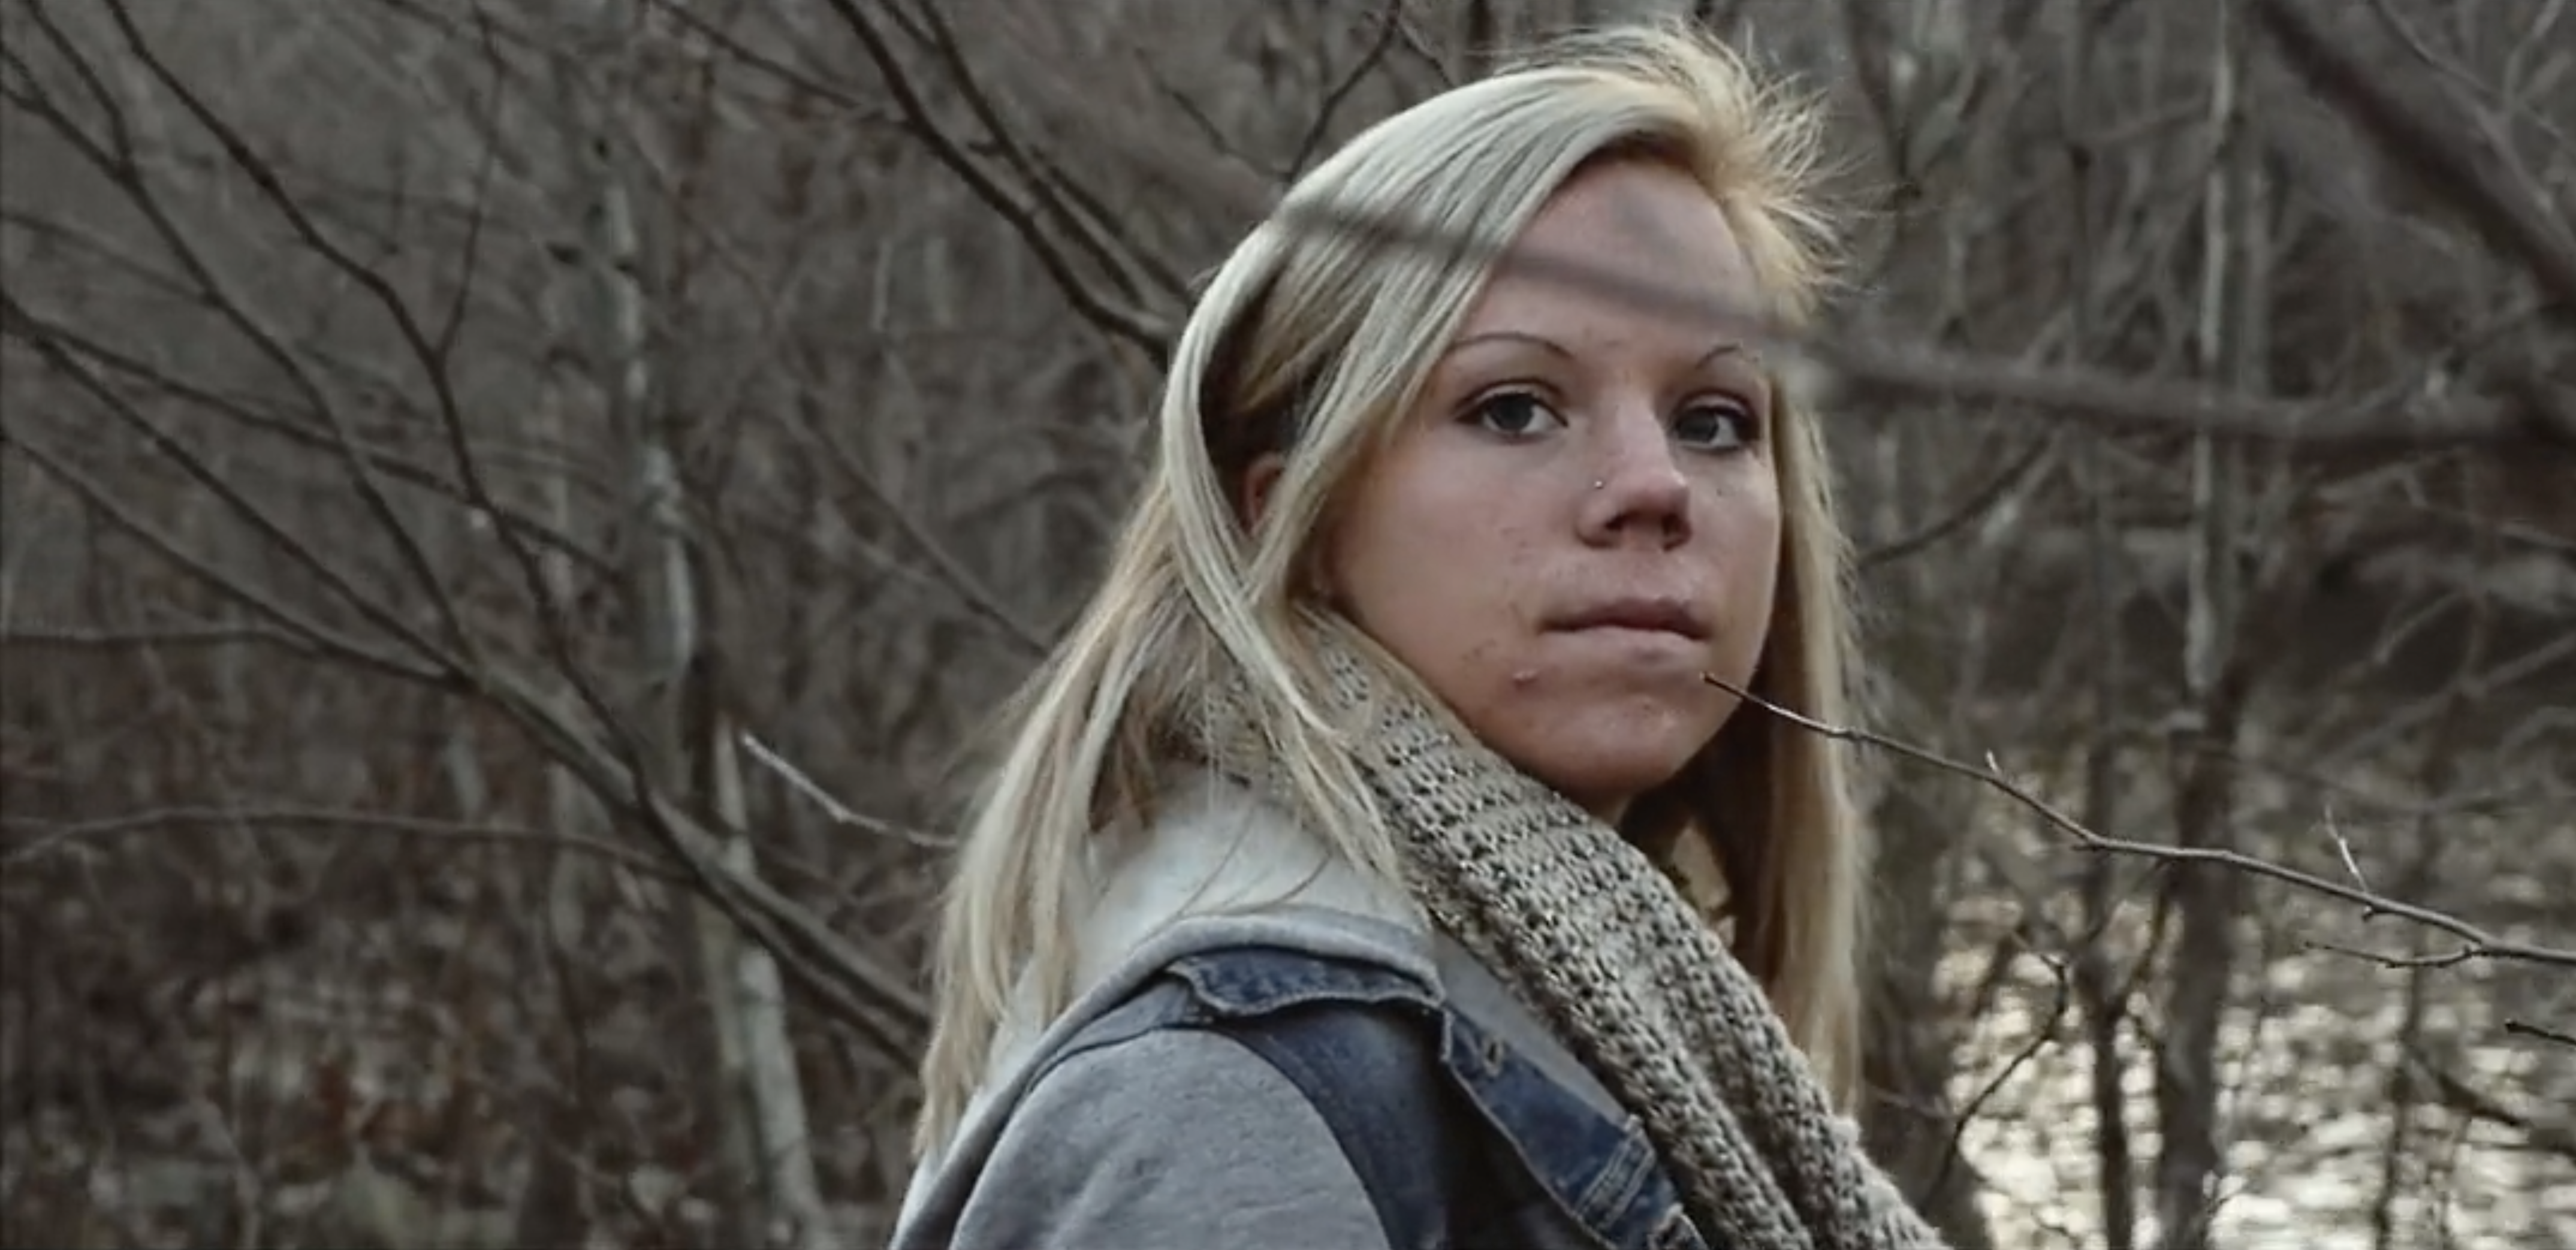
This project started last November (I put it off for far too long).
Over thanksgiving break my goal was to get out and shoot. I grabbed my sister at golden hour and we headed outside. We started shooting the snow stuff – then the next day we shot the river scenes.
I threw a lav on her also and we started just chatting conversationally. I asked her about something she was learning recently. She talked about a book she was reading by Tim Keller and how it spoke of “being present.”
I have seen a huge realization lately in culture to this idea; so I kept asking her questions about it. I walked and filmed her as we talked. This kept the tone conversational and simple.
I put the project off for so long that when our family went to Florida months later, I decided to pick up some more shots.
Post production took me the longest. Here’s a deeper look into the color side of things.
For me, once I have the edit locked down I open the Premiere project inside After Effects. The first thing I do before touching anything is go to project settings and switch the bits per channel from 8 to 16 (this helps in grading).
Next, I apply neatvideo to each clip individually to clean up the digital noise. This gives us a great 16bit image to deal with in the grade.
When applying neatvideo – you want to make sure your comp resolution is at “full.” Also when selecting digital grain – I make sure the quality is greater than 50%.
Now I start to balance all the clips. I usually just use levels for this – you can see when you line up the RGB shadows/highlights you get a properly white balanced image (for the most part).
This also allows me to adjust exposure where needed. I try to keep these adjustments subtle in nature.
Finally, I create a stylistic grade on one of the images. Then I start to apply that style to the rest of the clips. Matching clips is key.
A huge tool for me in this process is the Hue/Saturation tool. I can use it to match skin tones and grass color. Just anything to make shots match.
Here is another hidden gem in AE that allows for some killer shot matching. It’s the snapshot tool.
You can take a snapshot with the camera button, then display that snapshot later with the “show snapshot” button.
For matching clips this is speedy dream come true.
Another tip: you can capture multiple snapshots with the F keys. Press (Apple+F5-F8) to display the snaphot and press (Shift+Apple+F5-F8) to take a snapshot.


Leave a Reply