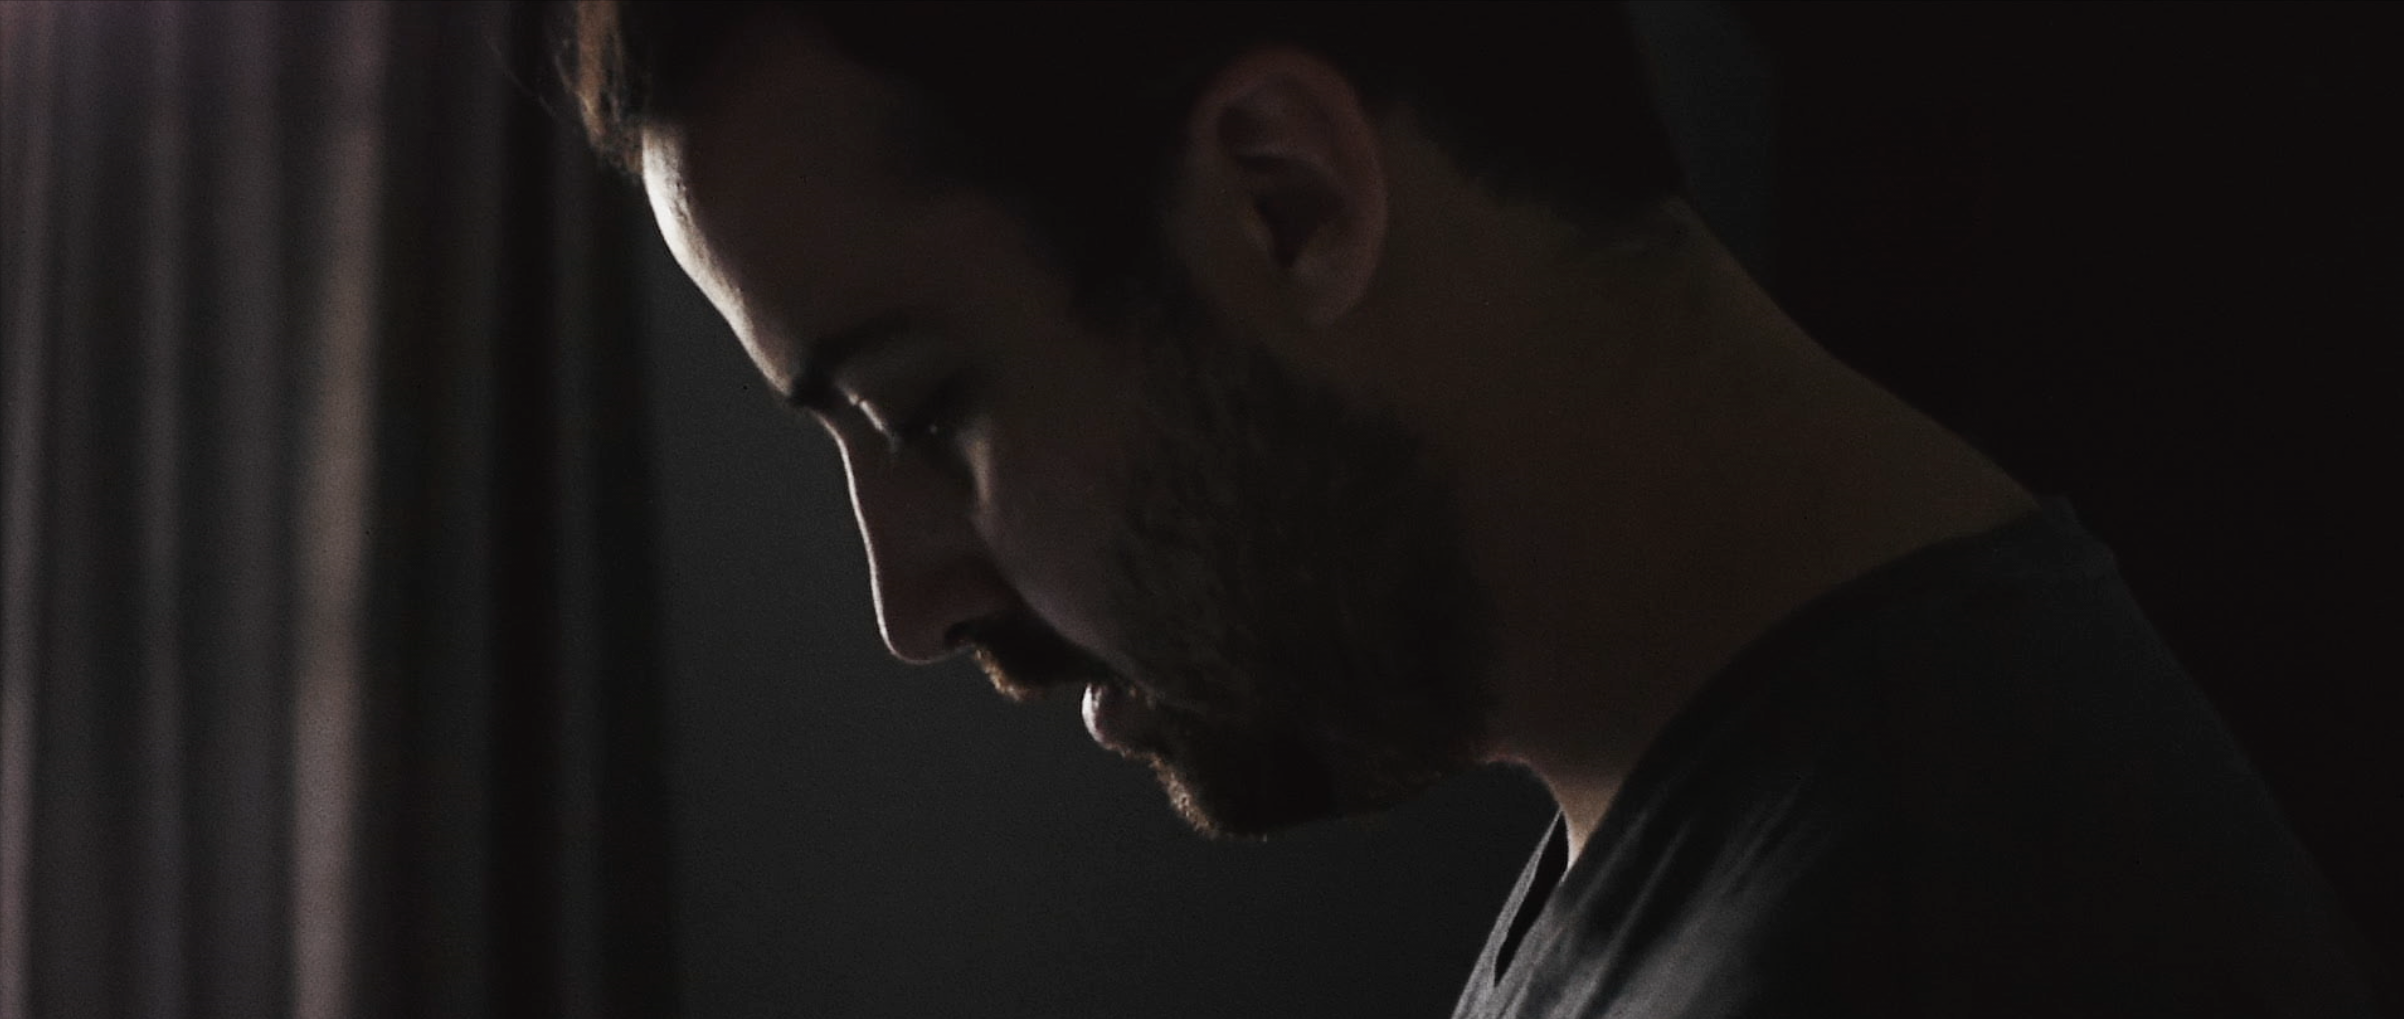
Color can ruin your film!
If done wrong. But if you get it right – color can make people love you. I’m going to take you through my color process for THUNDER SON. It’ll give you a better idea of what I’m thinking when doing after effects color correction.
Color research, get inspired!
This is where I start. I head to sites like designspiration, flickr and vimeo to gather my influences. I look for films / images with a “feeling” that I’m trying to convey. When I’m doing this I try to stay loosey goosey and have some fun with it. Inspiration is more messy than anything – don’t kill it with structure.
After finding some films and images I’ll start to collect them in an Evernote file. I do this to take a break from the structural side of editing. It is a fresh air, so give it a try!
Once the edit is in final form, I begin my after effects color correction process.
After Effects Color Correction: small steps = big results.
This is the first stage of my process. I open my edit in After Effects and switch the Color Depth from 8-bit to 16-bit. I learned this from the famous Stu Maschwitz.
Next I go through clip by clip using NeatVideo to remove digital noise from my GH2 footage. I usually jam to some film scores while doing this. It makes the menial task feel a little more epic. Find more about that process HERE.
Grain, Grain, baby.
Now that my footage is all squeaky clean from digital noise, it’s time to dirty it back up. It’s like washing your face, you start by scrubbing with soap. That removes all the bad oils, but it leaves your skin dry like an alligator. Sooo – you add lather that skin up with some moisturizer, which adds good oil back. The same applies with noise – remove the old, add the new.
I add a layer of Gorilla Grain overtop . Then I use a little scripting from Andrew Kramer to keep it flowing. You right-click the grain layer and select Time > Enable Time-remapping. This is key in after effects color correction .
Next you are going to alt-click the clock to insert a script. Then you select the loop-out script. Once selected, you can drag the grain layer to the end of your timeline. This loops the grain video over and over as far as your drag the layer!
Start your color engines.
After this you’ll begin to color correct each clip. I use the level’s tool to make exposure and white balance adjustments. You can find more on that HERE.
Then I add sharpening back in. I do this using a custom AE high pass filter. I add the high pass filter on a composition of all my clips, then I switch it to soft light to create some sharpening.
Lastly I’ll do a Adjustment layer over top of the whole project to capture my “feeling” – this is where the research comes in. I’ll usually open up my reference images and use the Curves / HSL tools in after effects to create the look I want. If you’d like to see my “look” layer – look below!
Afterwards, I’ll make clip by clip adjustments to match and make sure everything is on point in after effects color correction.
Do you want my after effects file so you can apply it to your footage?


Leave a Reply